


Deploy KubeSphere on Huawei CCE
This guide walks you through the steps of deploying KubeSphere on Huaiwei CCE.
Preparation for Huawei CCE
Create Kubernetes cluster
First, create a Kubernetes cluster based on the requirements below.
- To install KubeSphere v3.1.1 on Kubernetes, your Kubernetes version must be v1.17.x, v1.18.x, v1.19.x or v1.20.x.
- Ensure the cloud computing network for your Kubernetes cluster works, or use an elastic IP when you use Auto Create or Select Existing. You can also configure the network after the cluster is created. Refer to NAT Gateway.
- Select
s3.xlarge.24-core|8GBfor nodes and add more if necessary (3 and more nodes are required for a production environment).
Create a public key for kubectl
-
Go to Resource Management > Cluster Management > Basic Information > Network, and bind
Public apiserver. -
Select kubectl on the right column, go to Download kubectl configuration file, and click Click here to download, then you will get a public key for kubectl.
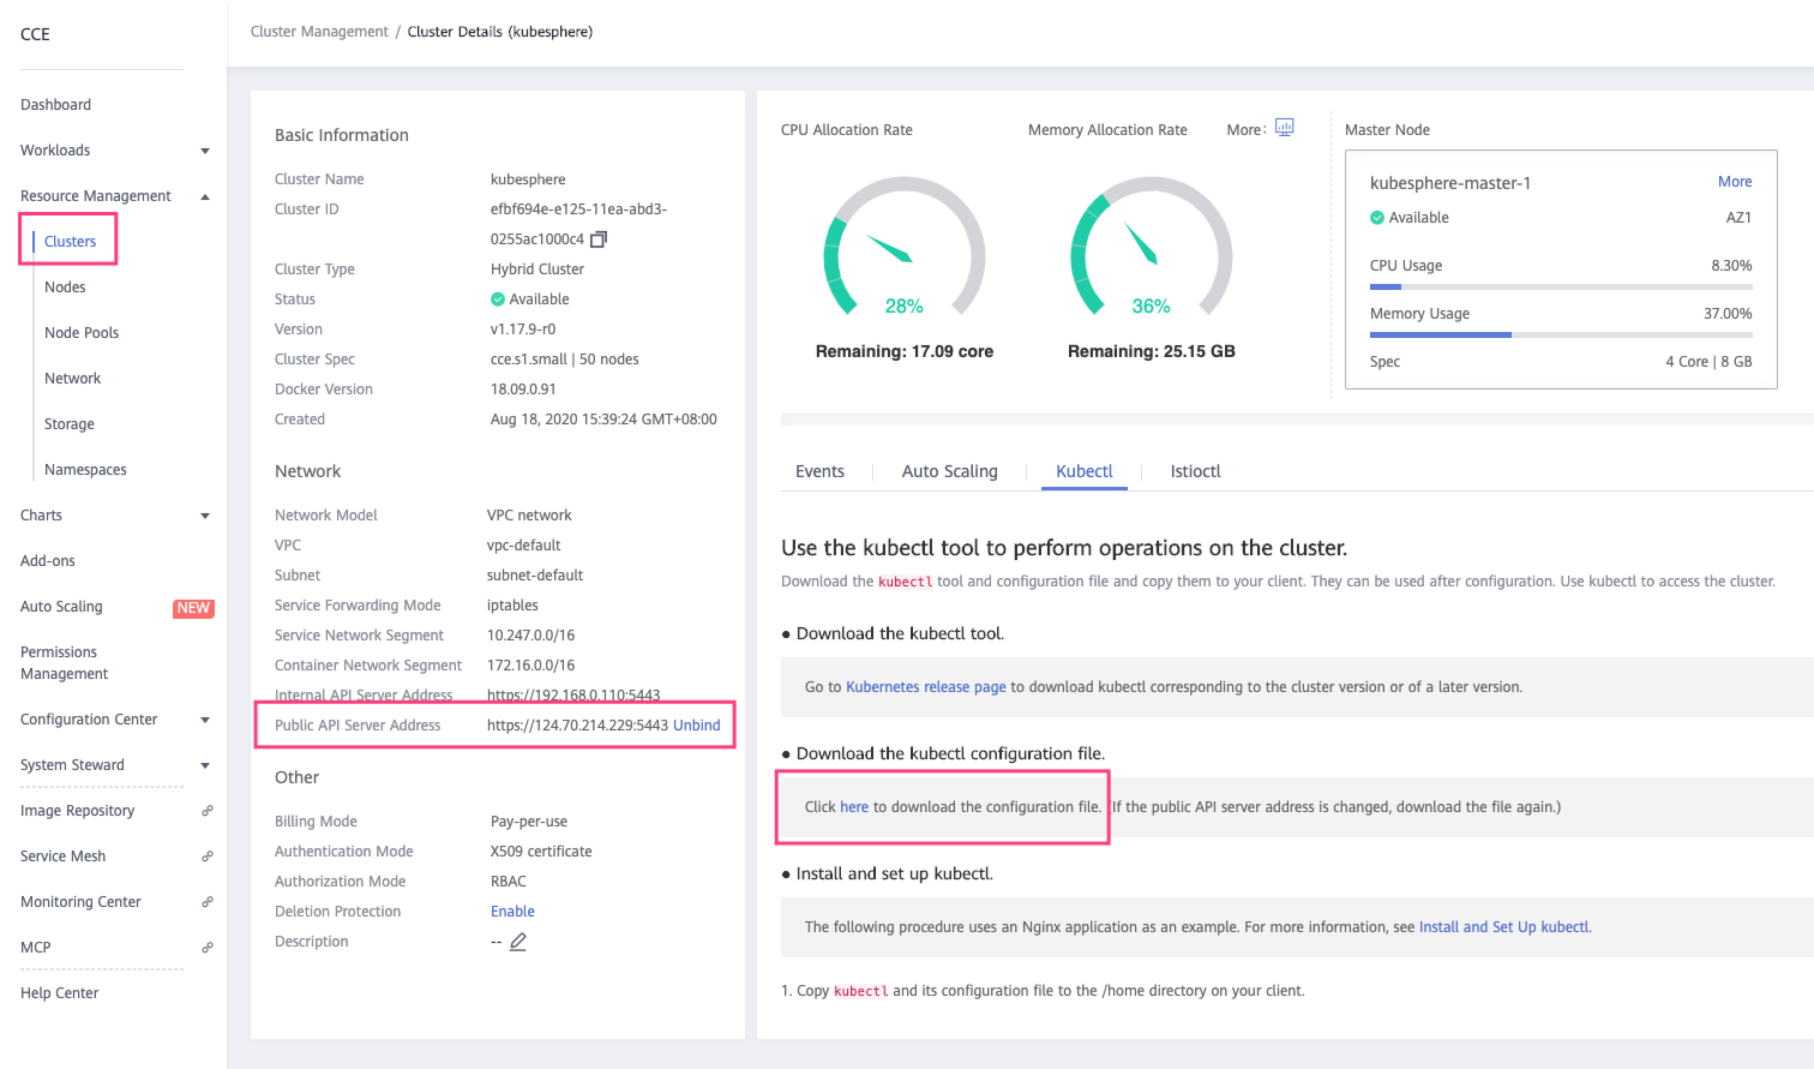
After you get the configuration file for kubectl, use kubectl command line to verify the connection to the cluster.
$ kubectl version
Client Version: version.Info{Major:"1", Minor:"18", GitVersion:"v1.18.8", GitCommit:"9f2892aab98fe339f3bd70e3c470144299398ace", GitTreeState:"clean", BuildDate:"2020-08-15T10:08:56Z", GoVersion:"go1.14.7", Compiler:"gc", Platform:"darwin/amd64"}
Server Version: version.Info{Major:"1", Minor:"17+", GitVersion:"v1.17.9-r0-CCE20.7.1.B003-17.36.3", GitCommit:"136c81cf3bd314fcbc5154e07cbeece860777e93", GitTreeState:"clean", BuildDate:"2020-08-08T06:01:28Z", GoVersion:"go1.13.9", Compiler:"gc", Platform:"linux/amd64"}
Deploy KubeSphere
Create a custom StorageClass
Note
Huawei CCE built-in Everest CSI provides StorageClass
csi-disk which uses SATA (normal I/O) by default, but the actual disk that is used for Kubernetes clusters is either SAS (high I/O) or SSD (extremely high I/O). Therefore, it is suggested that you create an extra StorageClass and set it as default. Refer to the official document - Use kubectl to create a cloud storage.Below is an example to create a SAS (high I/O) for its corresponding StorageClass.
# csi-disk-sas.yaml

---
apiVersion: storage.k8s.io/v1
kind: StorageClass
metadata:
  annotations:
    storageclass.kubernetes.io/is-default-class: "true"
    storageclass.kubesphere.io/support-snapshot: "false"
  name: csi-disk-sas
parameters:
  csi.storage.k8s.io/csi-driver-name: disk.csi.everest.io
  csi.storage.k8s.io/fstype: ext4
  # Bind Huawei “high I/O storage. If use “extremely high I/O, change it to SSD.
  everest.io/disk-volume-type: SAS
  everest.io/passthrough: "true"
provisioner: everest-csi-provisioner
allowVolumeExpansion: true
reclaimPolicy: Delete
volumeBindingMode: Immediate
For how to set up or cancel a default StorageClass, refer to Kubernetes official document - Change Default StorageClass.
Use ks-installer to minimize the deployment
Use ks-installer to deploy KubeSphere on an existing Kubernetes cluster. Execute the following commands directly for a minimal installation:
kubectl apply -f https://github.com/kubesphere/ks-installer/releases/download/v3.1.1/kubesphere-installer.yaml

kubectl apply -f https://github.com/kubesphere/ks-installer/releases/download/v3.1.1/cluster-configuration.yaml
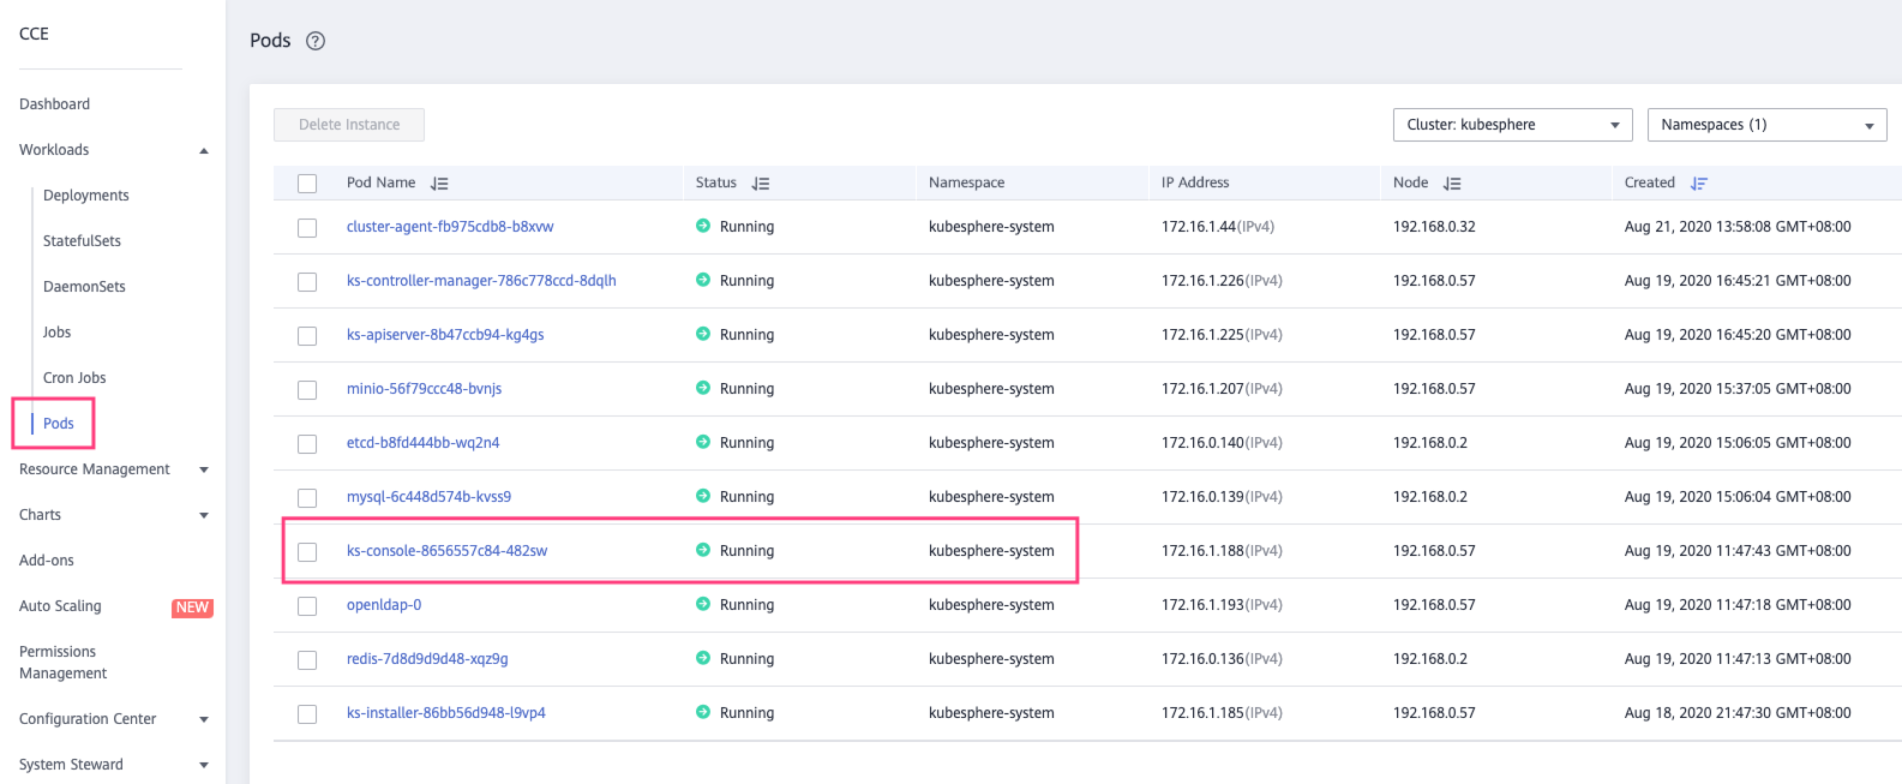
Go to Workload > Pod, and check the running status of the pod in kubesphere-system of its namespace to understand the minimal deployment of KubeSphere. Check ks-console-xxxx of the namespace to understand the availability of KubeSphere console.
Expose KubeSphere Console
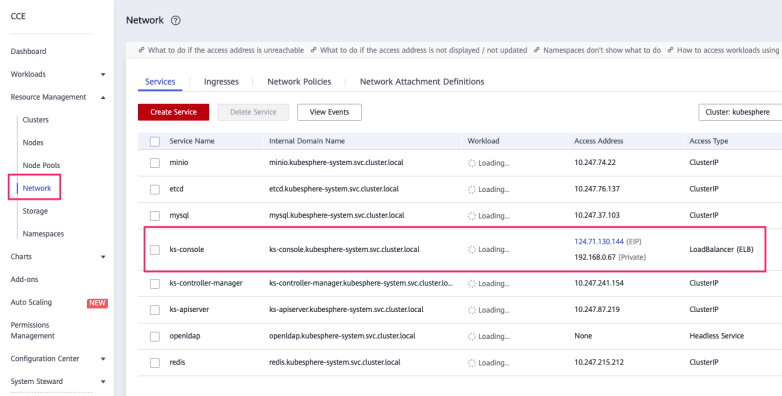
Check the running status of Pods in kubesphere-system namespace and make sure the basic components of KubeSphere are running. Then expose KubeSphere console.
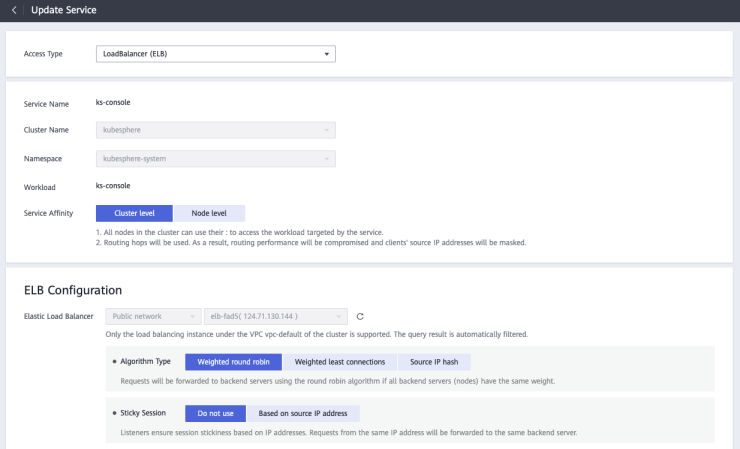
Go to Resource Management > Network and choose the service in ks-console. It is suggested that you choose LoadBalancer (Public IP is required). The configuration is shown below.
Default settings are OK for other detailed configurations. You can also set them based on your needs.
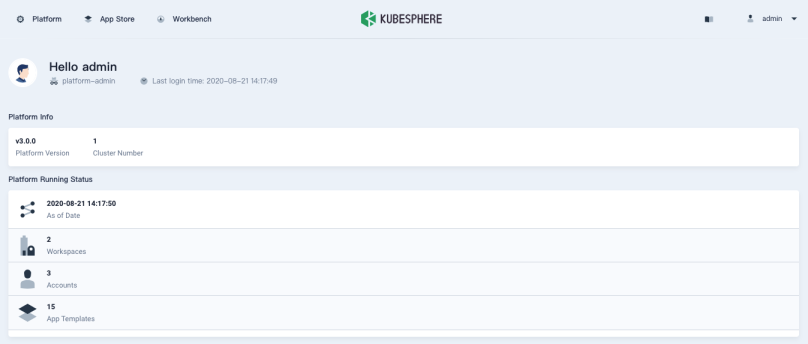
After you set LoadBalancer for KubeSphere console, you can visit it via the given address. Go to KubeSphere login page and use the default account (username admin and password P@88w0rd) to log in.
Enable Pluggable Components (Optional)
The example above demonstrates the process of a default minimal installation. To enable other components in KubeSphere, see Enable Pluggable Components for more details.
Warning
Before you use Istio-based features of KubeSphere, you have to delete
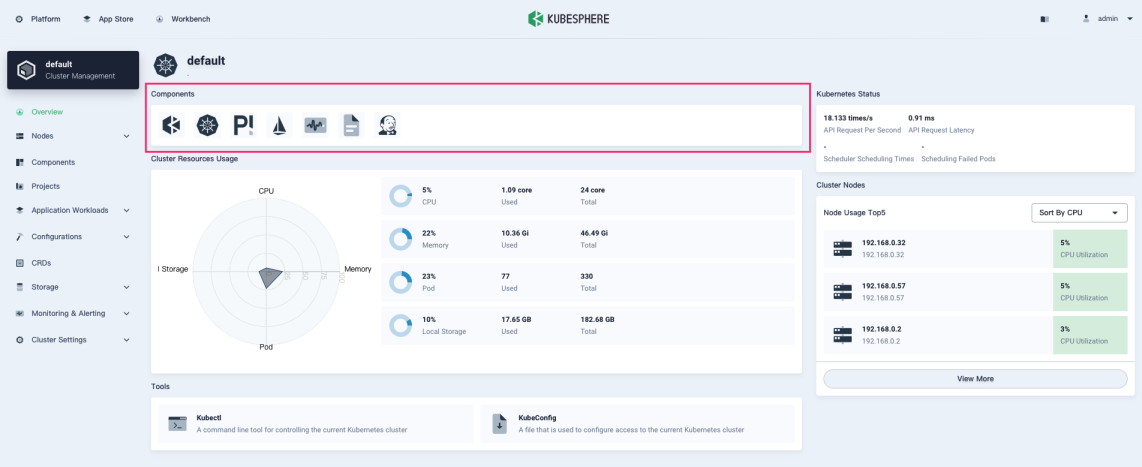
applications.app.k8s.io built in Huawei CCE due to the CRD conflict. You can run the command kubectl delete crd applications.app.k8s.io directly to delete it.After your component is installed, go to the Cluster Management page, and you will see the interface below. You can check the status of your component in Components.
Feedback
Was this page Helpful?
Thanks for the feedback. If you have a specific question about how to use KubeSphere, ask it on Slack. Open an issue in the GitHub repo if you want to report a problem or suggest an improvement.
 Previous

What’s on this Page