


Workspace Overview
A workspace is a logical unit to organize your projects and DevOps projects and manage app templates and app repositories. It is the place for you to control resource access and share resources within your team in a secure way.
It is a best practice to create a new workspace for tenants (excluding cluster administrators). A same tenant can work in multiple workspaces, while a workspace allows multiple tenants to access it in different ways.
This tutorial demonstrates how to create and delete a workspace.
Prerequisites
You have an account granted the role of workspaces-manager, such as ws-manager in Create Workspaces, Projects, Accounts and Roles.
Create a Workspace
-
Log in to the web console of KubeSphere as
ws-manager. On the Workspaces page, you can see all workspaces on the platform. Click Create.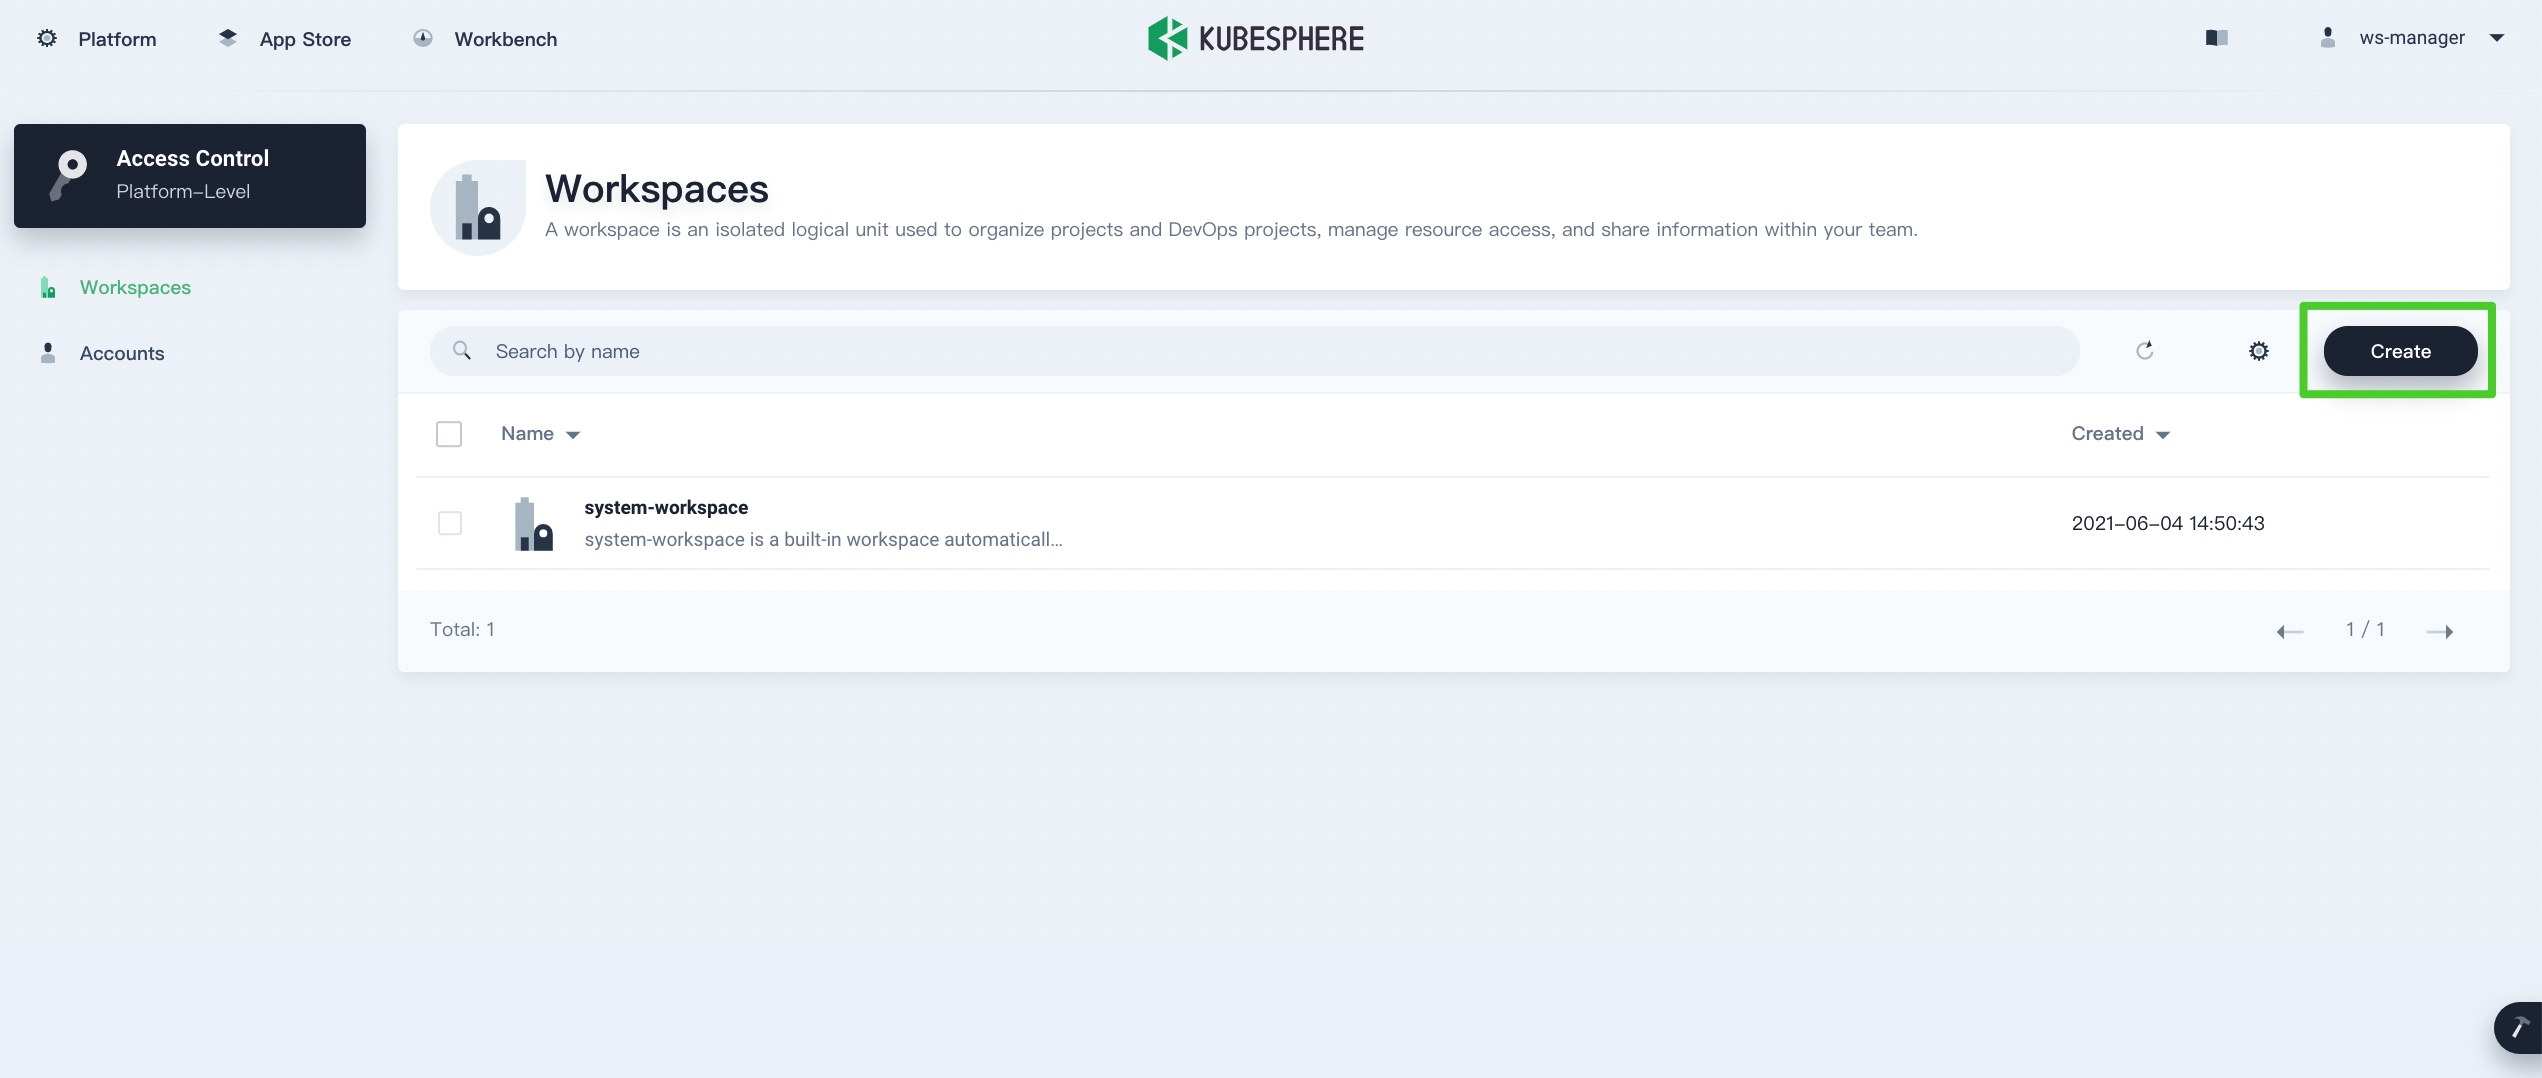
Note
By default, you have at least one workspacesystem-workspacein the list which contains all system projects. -
On the Basic Information page, specify a name for the workspace and select an administrator from the drop-down list. Click Create to continue.
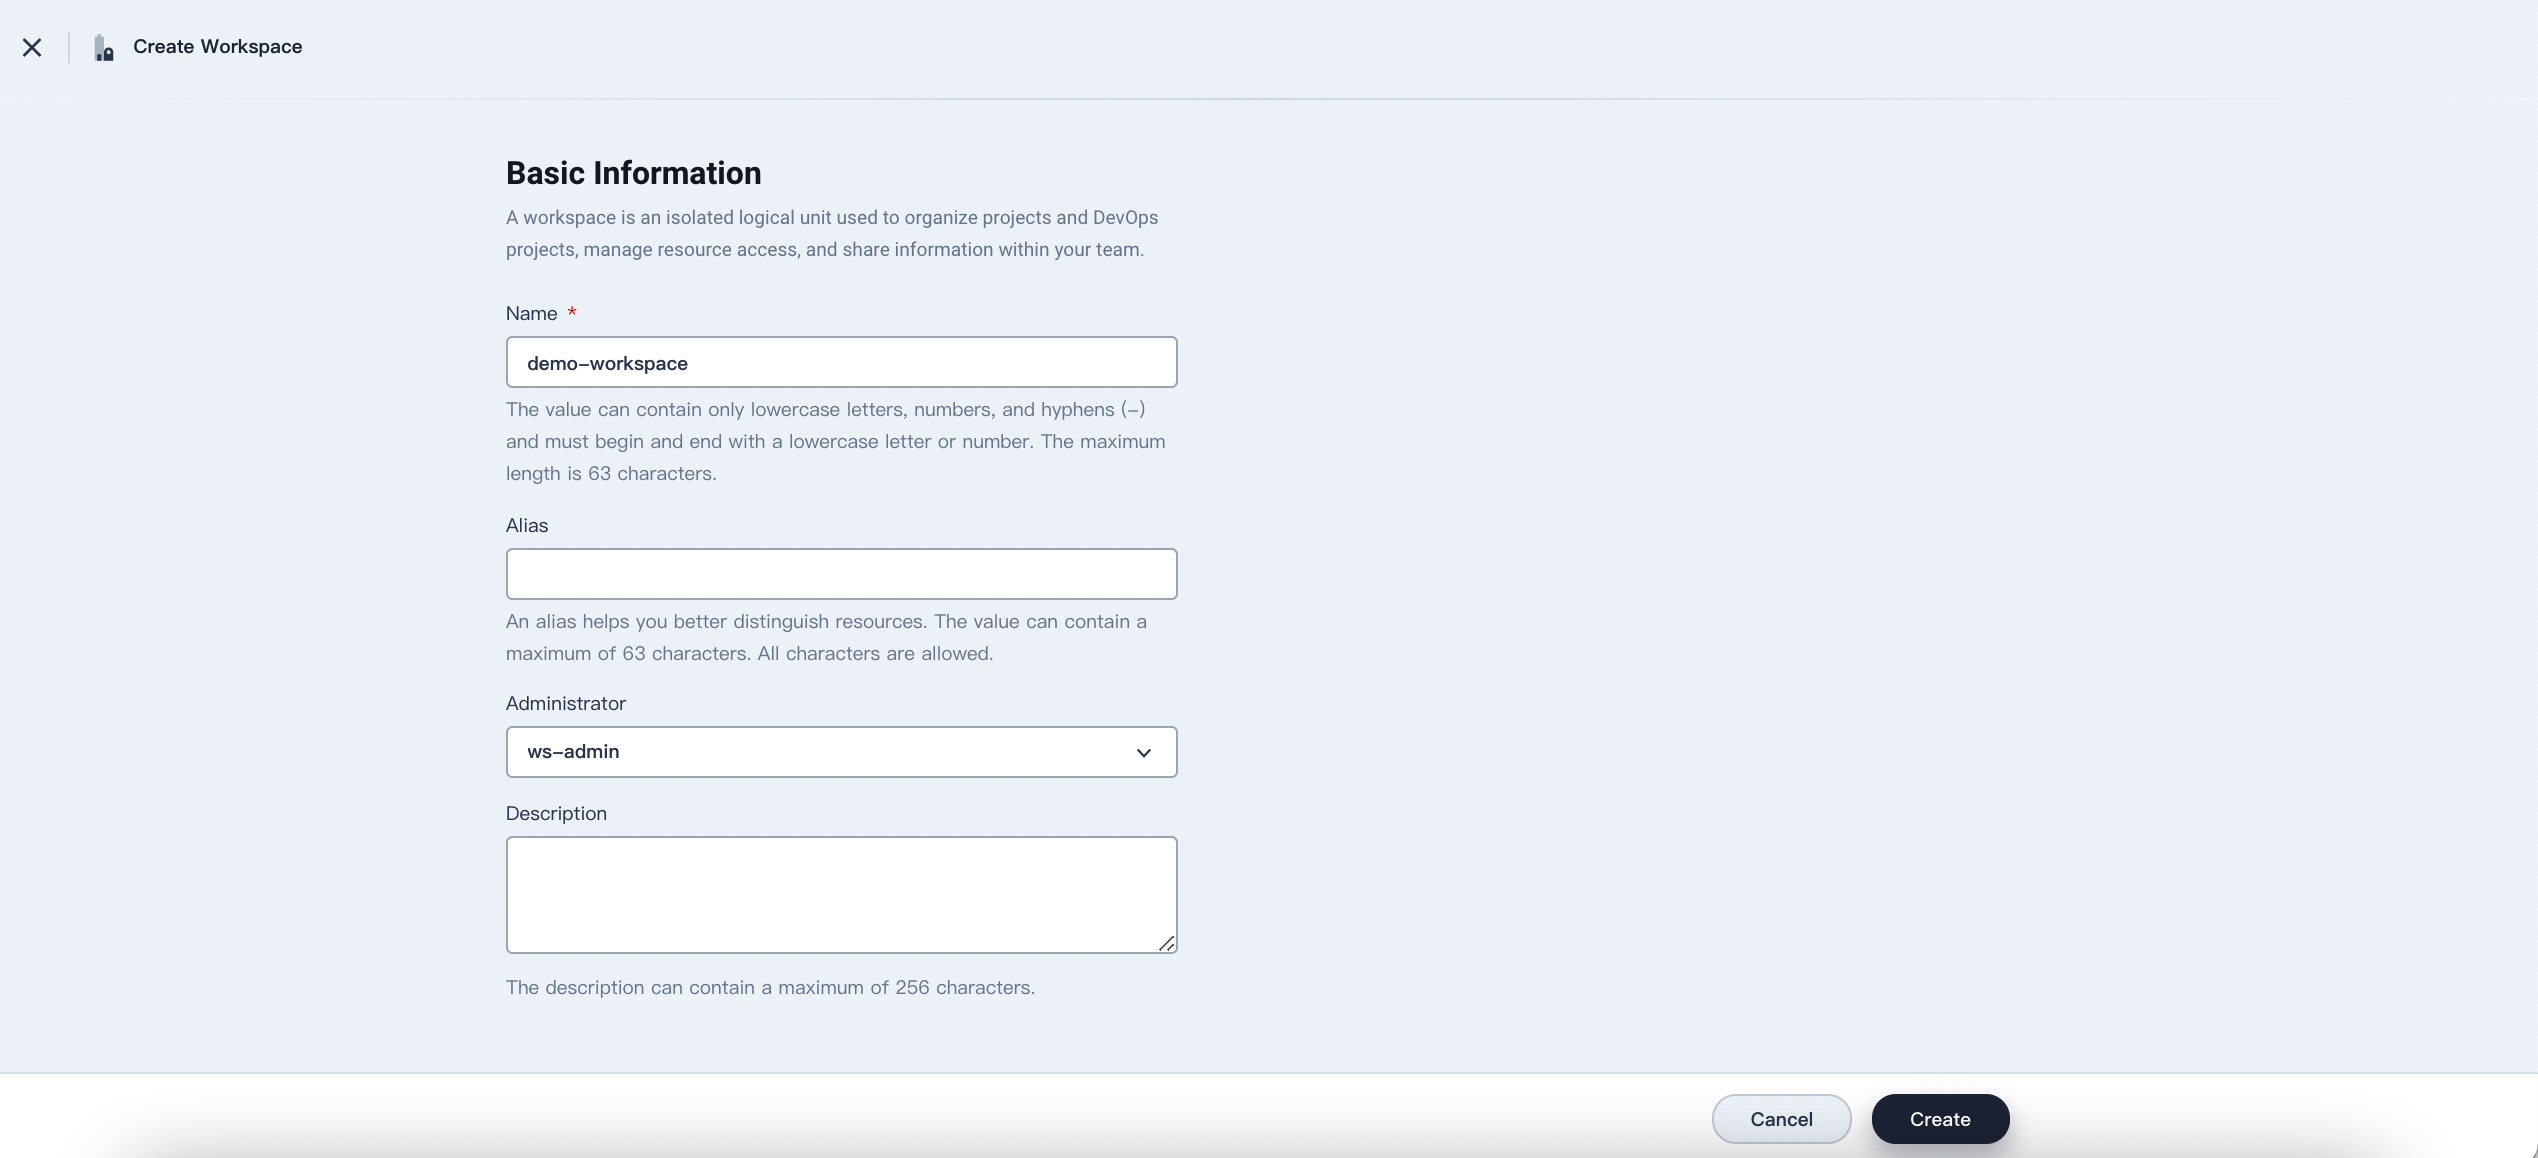
- Name: Set a name for the workspace which serves as a unique identifier.
- Alias: An alias name for the workspace.
- Administrator: Account that administers the workspace.
- Description: A brief introduction of the workspace.
-
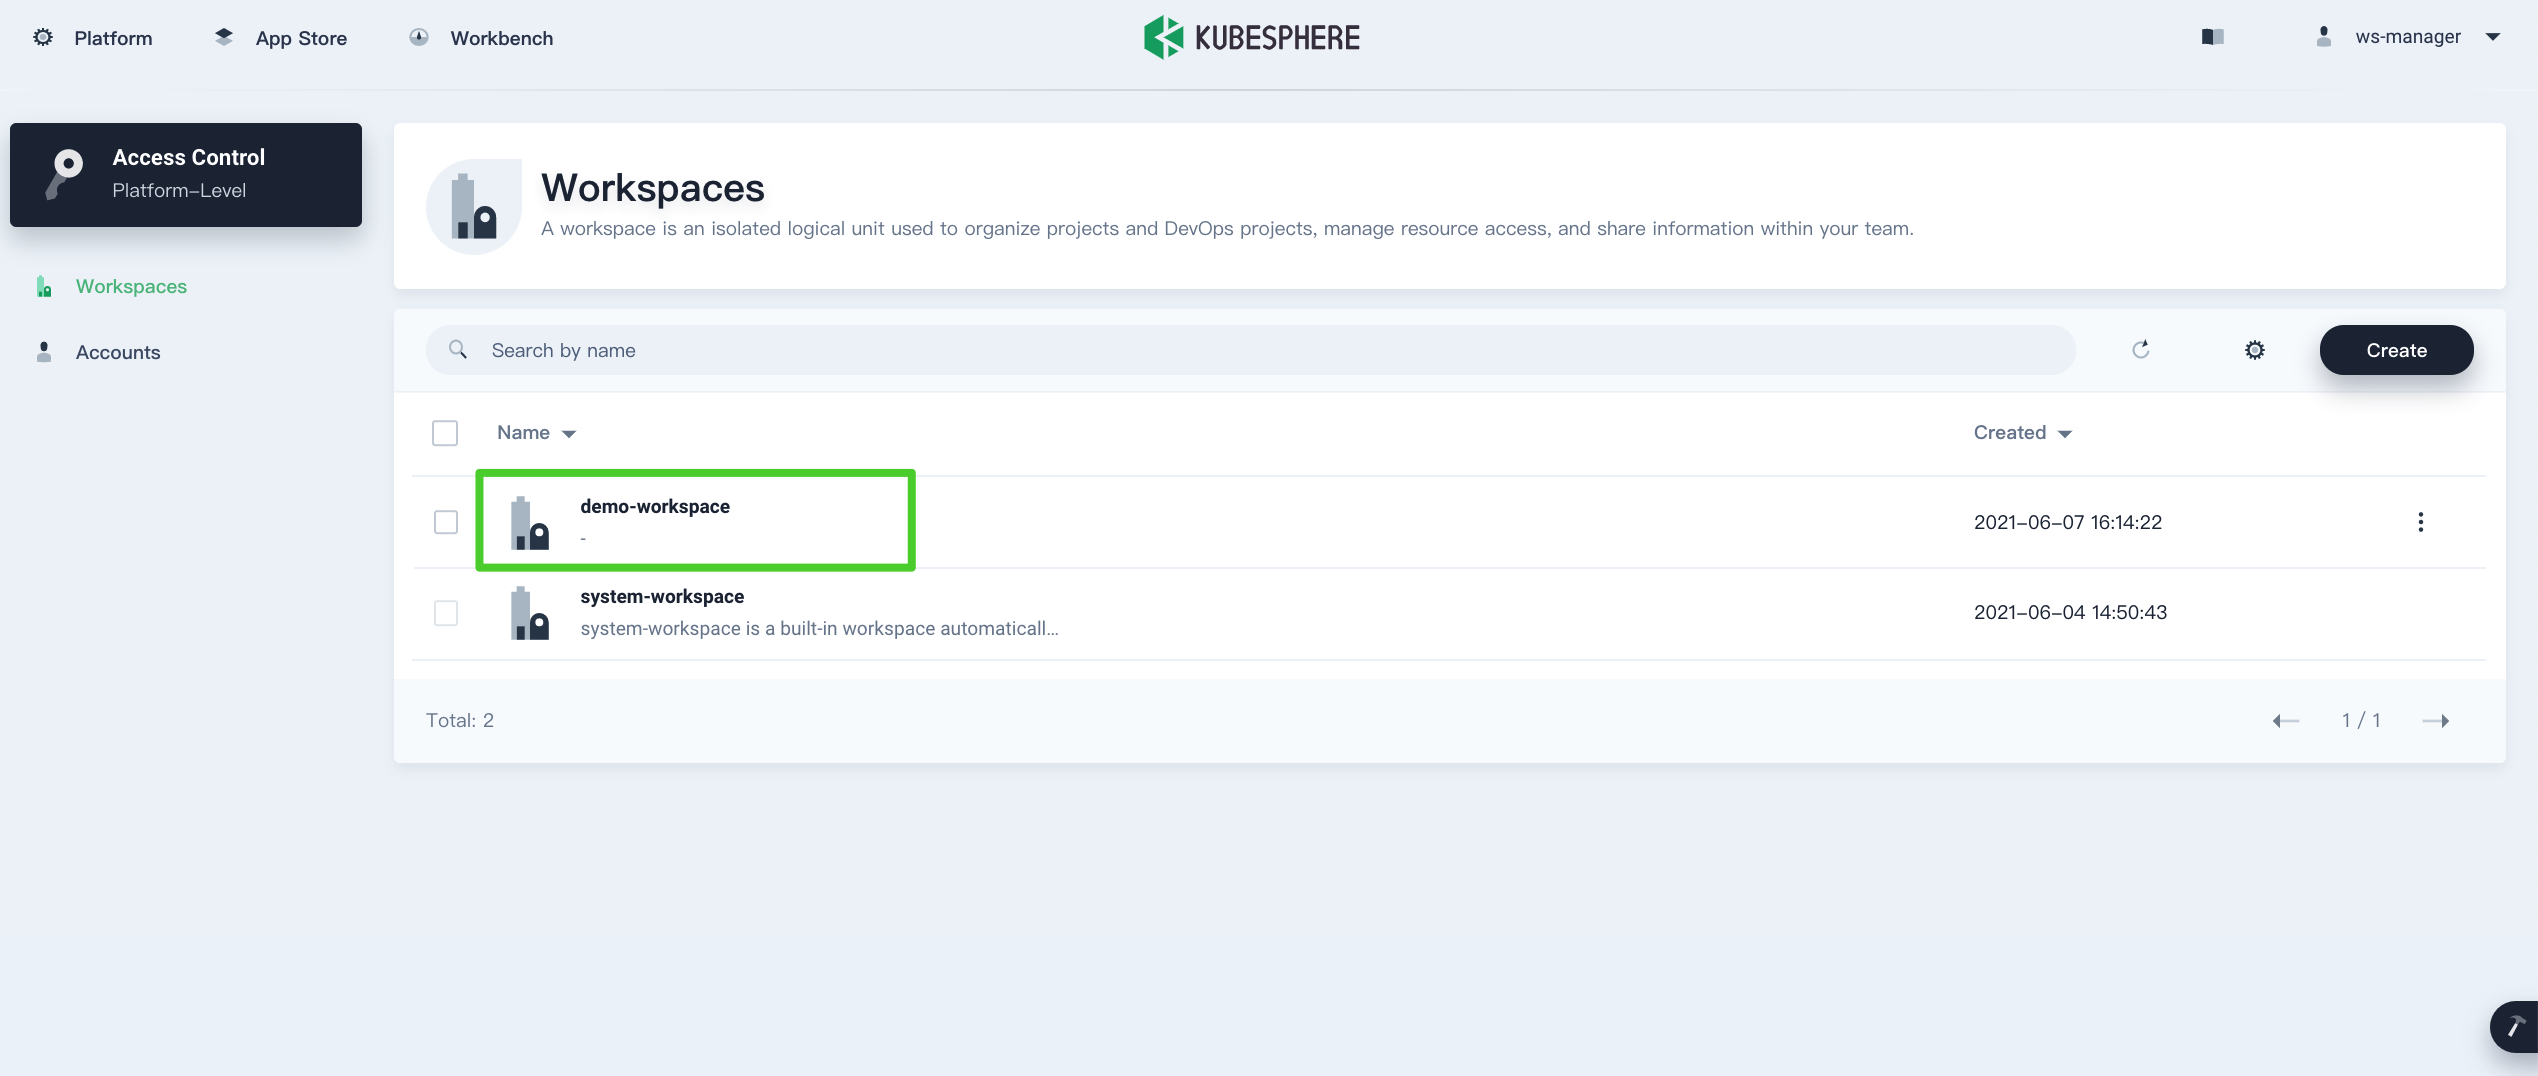
The workspace created appears in the list as shown below.
-
Click the workspace and you can see resource status in the workspace on the Overview page.

Delete a Workspace
In KubeSphere, you use a workspace to group and manage different projects, which means the lifecycle of a project is dependent on the workspace. More specifically, all the projects and related resources in a workspace will be deleted if the workspace is deleted.
Before you delete a workspace, decide whether you want to unbind some key projects.
Unbind projects before deletion
To delete a workspace while preserving some projects in it, run the following command first:
kubectl label ns <namespace> kubesphere.io/workspace- && kubectl patch ns <namespace> -p '{"metadata":{"ownerReferences":[]}}' --type=merge
Note
The command above removes labels associated with the workspace and removes ownerReferences. After that, you can assign an unbound project to a new workspace.
Delete a workspace on the console
After you unbind necessary projects from a workspace, perform the following steps to delete a workspace.
Note
Be extremely cautious about deleting a workspace if you use kubectl to delete workspace resource objects directly.
-
In your workspace, go to Basic Information under Workspace Settings. On the Basic Information page, you can see the general information of the workspace, such as the number of projects and members.
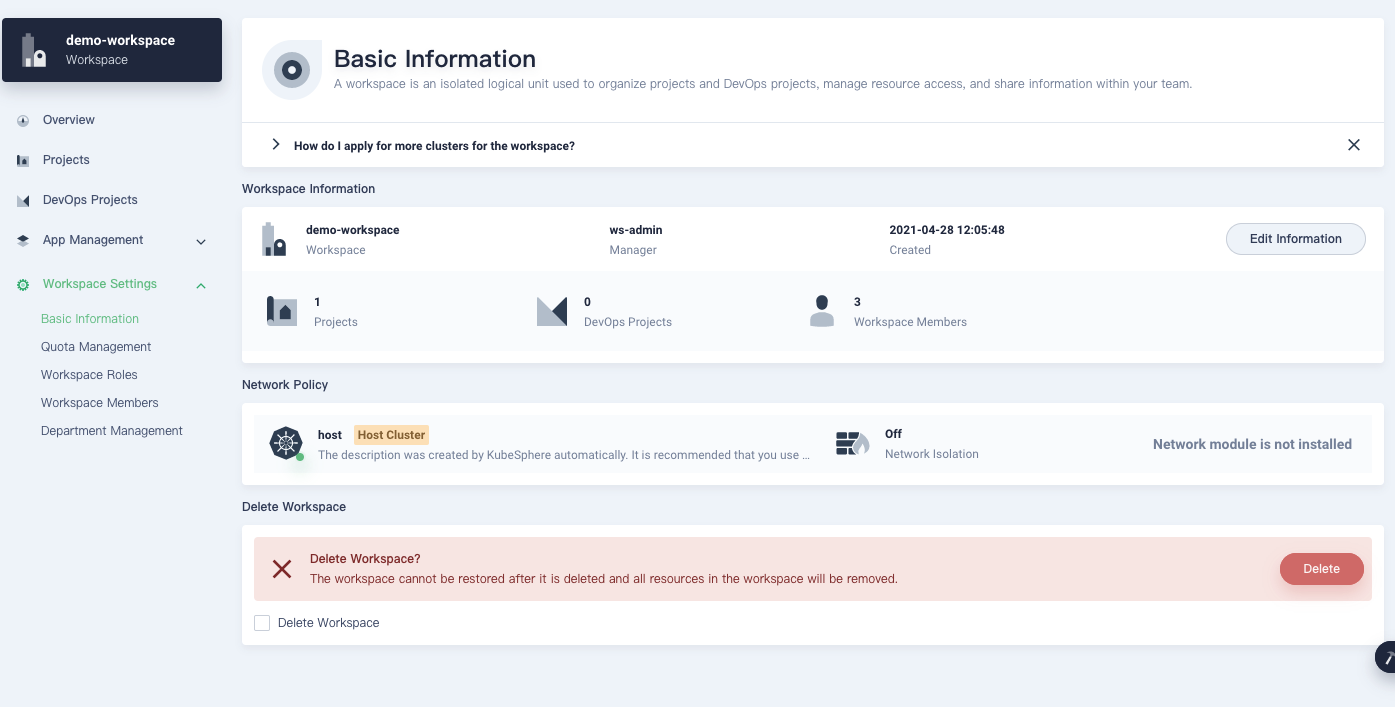
Note
On this page, you can click Edit Information to change the basic information of the workspace (excluding the workspace name) and turn on/off Network Isolation. -
To delete the workspace, check Delete Workspace and click Delete.
Warning
A workspace cannot be restored after it is deleted and resources in the workspace will also be removed.
Feedback
Was this page Helpful?
 Previous

What’s on this Page